DIY Kid's Playhouse Makeover: A Step By Step Guide
I always wanted a playhouse when I was younger. We had a great little pop up one, but I hankered after the cute wooden houses with a play kitchen and a doorbell. So when I saw the Kid Kraft Seaside Cottage I knew I had to get it for my three children. I bought the house from Rosie’s World and, although I loved the structure, I wasn’t so keen on the look of it. I used Lick exterior paint for the makeover and, although it’s only been a couple of weeks, it’s held up very well through the various weather conditions which the UK summer throws at it!

What You'll Need for your Playhouse Makeover -

2. Lick exterior paint. White 01 (walls)

3. Lick exterior paint. Green 02 (door)

4. Lick exterior paint. Grey 08 (roof and window boxes)

5. Wagner Wood and Metal Paint Sprayer

6. Rustoleum wood and metal spray paint in matte black and matte white


The Steps -
1. Paint
Paint as much of the house as you can before assembling it. I chose this house because the sides come already assembled! So that was just a case of opening them out and painting.
2. Spray Paint Walls
Use a spray gun for the walls... this will save you a lot of time. The outside needed about 3 coats but I only did a couple of coats on the inside walls, as I wanted to keep them a bit more rustic.

3. Spray Paint Wooden Pieces
Lay all the other wooden pieces out and spray them. I only sprayed one side as the other side had numbered stickers on for assembly. If I was doing it again (and wasn’t rushing to get it done before collecting the children!), then I’d definitely spray both sides of all the pieces of wood and number them again ready for assembly.
4. The Roof
Next up was the roof, which I was a little worried about as it’s plastic. However, the grey paint took to the roof really well and only needed a couple of coats. I didn’t bother sanding the surface first, but if I had more time I think I would. The paint stuck well but does come off if you scrape it slightly. I think it would be good to put a coat of matte varnish on the roof as well to keep the paint in place for longer! I also sprayed the window boxes the same colour as the roof.

5. Assemble Playhouse
Assembly was pretty straightforward thank goodness! Definitely a 2-man job (I roped my dad in) and took us just over 3 hours in total. The instructions are good, but there’s also an app you can use which was super helpful.
6. Check It Over
Once it was all constructed, I used a paint brush to go round any bits which I’d missed when spraying. I also painted the door green using a brush. This would be much easier to do before you add the window in and put the door handle on!

7. Painting The Sink
The sink and the bottom part of the hob are a kind of creamy colour, so I sprayed them matte white using Rustoleum. I also sprayed the taps matte black before attaching them to the sink. I didn’t do any prep of the surfaces first, but you could prime them if you had time.
8. Add Brass Door Numbers
I bought these cute self-adhesive brass door numbers from World of Brass which I love.

9. Finishing Touches
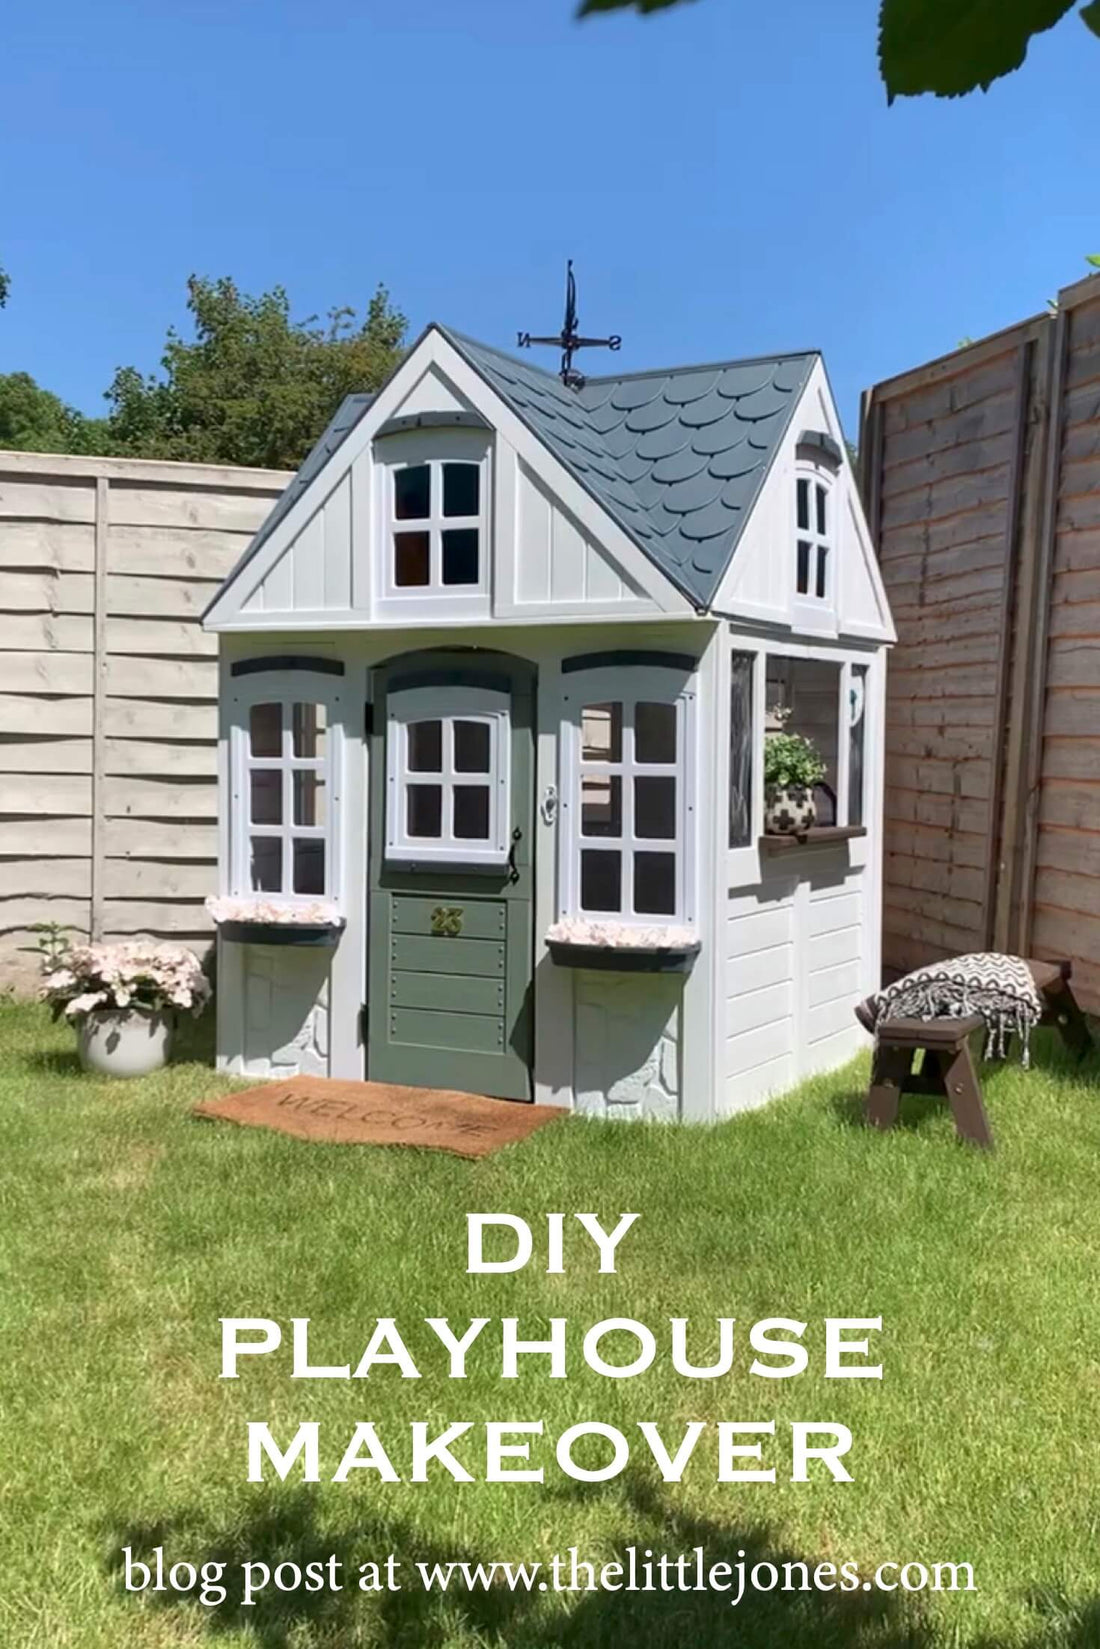
Then finally... I added some faux hydrangeas to the window boxes which I got from Amazon. I also popped a welcome mat down and added a blanket to the little bench that comes with the house. I’ve got more ideas to add a little post box and some lanterns to the outside of the house, but those will have to wait until the next spell of dry weather!
The Finished Playhouse...


See more of the playhouse makeover over on my Instagram @thelittlejones
2 comments
This article is providing great information about playhouse and I love brass door numbers this is unique. Keep posting this kind of informative article.
Playhouse looks amazing! I love this makeover 🙌